Adjustment and Use Method of Metal Can Sealing Machine
How to use the metal can sealing machine in production, we will carefully carry out the following instructions
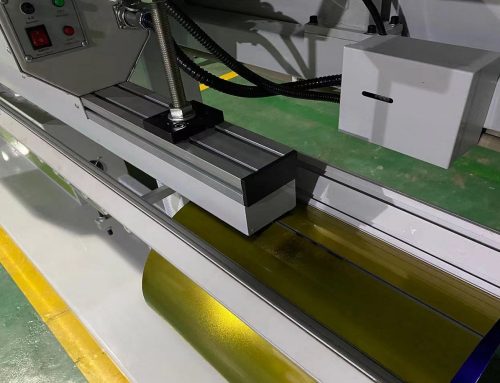
The can body and lid are sealed by the first and second rollers. When the can is sealed, the correct position of the sealing roller should be adjusted. The adjustment bolts on the roller brackets installed on the tray can be adjusted according to the diameter of the sealing tank. Just loosen the lock bolt first, adjust the position of the roller, and then lock it.
Sealing cans need to be replaced with corresponding pressure heads corresponding to the can lids.
Sealing adjustment of the metal can sealing machine: Because this machine is a four-roller sealing, that is, two rollers seal the head and two rollers seal two. When adjusting, first adjust the second roller, and then adjust the first roller. Note that the radial dimensions of the first two rollers should be the same until the product is properly sealed, and then exit with the following mark. Use the same method again
Adjust the second roller. After adjustment, restore the position of the first track roller and try sealing again.
Adjust the height of the tank: remove the front cover at the lower part of the fuselage, loosen the fixing nails, and then turn the screw rod to obtain the required height. Then, tighten the screws and install the cover.
Clutch height adjustment: you can open the cover on the body, loosen and tighten the nut, turn the left and right threaded adjustment nut 23 and tubular adjustment nut 24 to carry out, after adjustment, tighten the nut.
Do not turn on the motor during adjustment, but only rotate the tray by hand. After the adjustment is completed, all the screws and nuts are tightened, and the manual working cycle is correct, then the motor can be started for testing.